Flare Skirt
I chose this skirt as the first tutorial because its a very simple basic pattern that you can draft at home, but the results are amazing. It has four pieces that are sewn together, a hem for the bottom, an elastic hemmed top and that's it.
I will show you different variations using different fabrics but the basic pattern draft is the same.
Drafting the Pattern
First, you will begin by taking some measurements at the hip. Divide this measurement by eight and add about a half inch for the seam allowance and this is going to be the measurement for the waist. We don't need to measure the waist because we are using elastic and have to make sure that the opening at the top can slide up past the hips.
Second, measure from the waist to the knees. Divide by 8. Add between a half an inch or two inches to the width of waist measurement depending on how wide you want your skirt to flare out.
Lastly, measure from the knees to the ankles or longer, depending on desired length. At the last measurement you will add two inches on to the width of the knee's width and this will give you the desired flare.
Note: If you have never sketched a pattern before the directions above may seem a little confusing (or not) but just look at the pics below (like I usually do) and if you have any questions ask me below in the comments box!
Once you have drafted your pattern the rest is easy, squeezy, lemon peasy!!!
This is what the pattern should look like.

Now it's time to cut out your pieces. You are going to place the flat side on the fold and cut out four pieces of fabric. Your pieces should look like this below.

Next, just to make it less confusing, pin two skirt pieces together as seen below.

(sorry bout the upside down images! 0_o)
Next sew them darn thingies together! (see I told you guys this was gonna be really easy, Mashallah!)

Join together the two pieces that was already sewn together with some pins to hold them in place, then sew.

The above step is where you would press open the seams to give the skirt a nice finished look. But if you have a serger, you would then serge the outside of the seams and then press.
The top of the skirt can be finished by using a small hem, then rolling that over to about a half of inch depending on what size elastic you are going to use. Or your can serge the top of it and then fold it over. Either way, I definitely recommend pressing your second hem before sewing it. (Painful, painful experience talkin' again ya'll) It should look like this below.

Cut your elastic to the desired length and then sew it closed. I personally dislike the "conventional method" of sewing the hem, leaving a small space, then pulling the elastic through with a pin ( I can never seem to find one when I need it ugh!), then sewing it closed again! It drives me crazy. The way that I do it seems to be a little easier and the end result is one seam all the way around the top. (Im just lazy and don't like doing tedious things, but that's just between us ;) Ok!)

This is how I sew to the elastic closed. It makes it smooth when you put it under the hem. Pull the skirt through the elastic like below.

Tuck the elastic under the hem. It helps to pin the hem at the four seams to hold the elastic in place. This part can get a little tricky because you wanna make sure you do not sew on the elastic. It should float freely under the hem. I usually take the arm of my sewing machine off, then pull on the skirt to stretch the elastic while i'm sewing it. But you can do it howevas your pleasure!

This is how the top of the skirt should look inshallah. All is left is to hem the bottom and then your done!

You can make many different variations of this skirt. Some that I have done is to make a slimmer top and a wider flare from the knees by adding more width to the hem. I have also made the middle panel wider with two smaller panels for the sides. You can add piping between the panels, rick rack around the knee or of the skirt or the bottom. Do it up ladies! The skies the limit. Here is a sample of another skirt I made. Its slimmer up the top.

If you make a skirt, please send me a pic and I will post it inshallah!
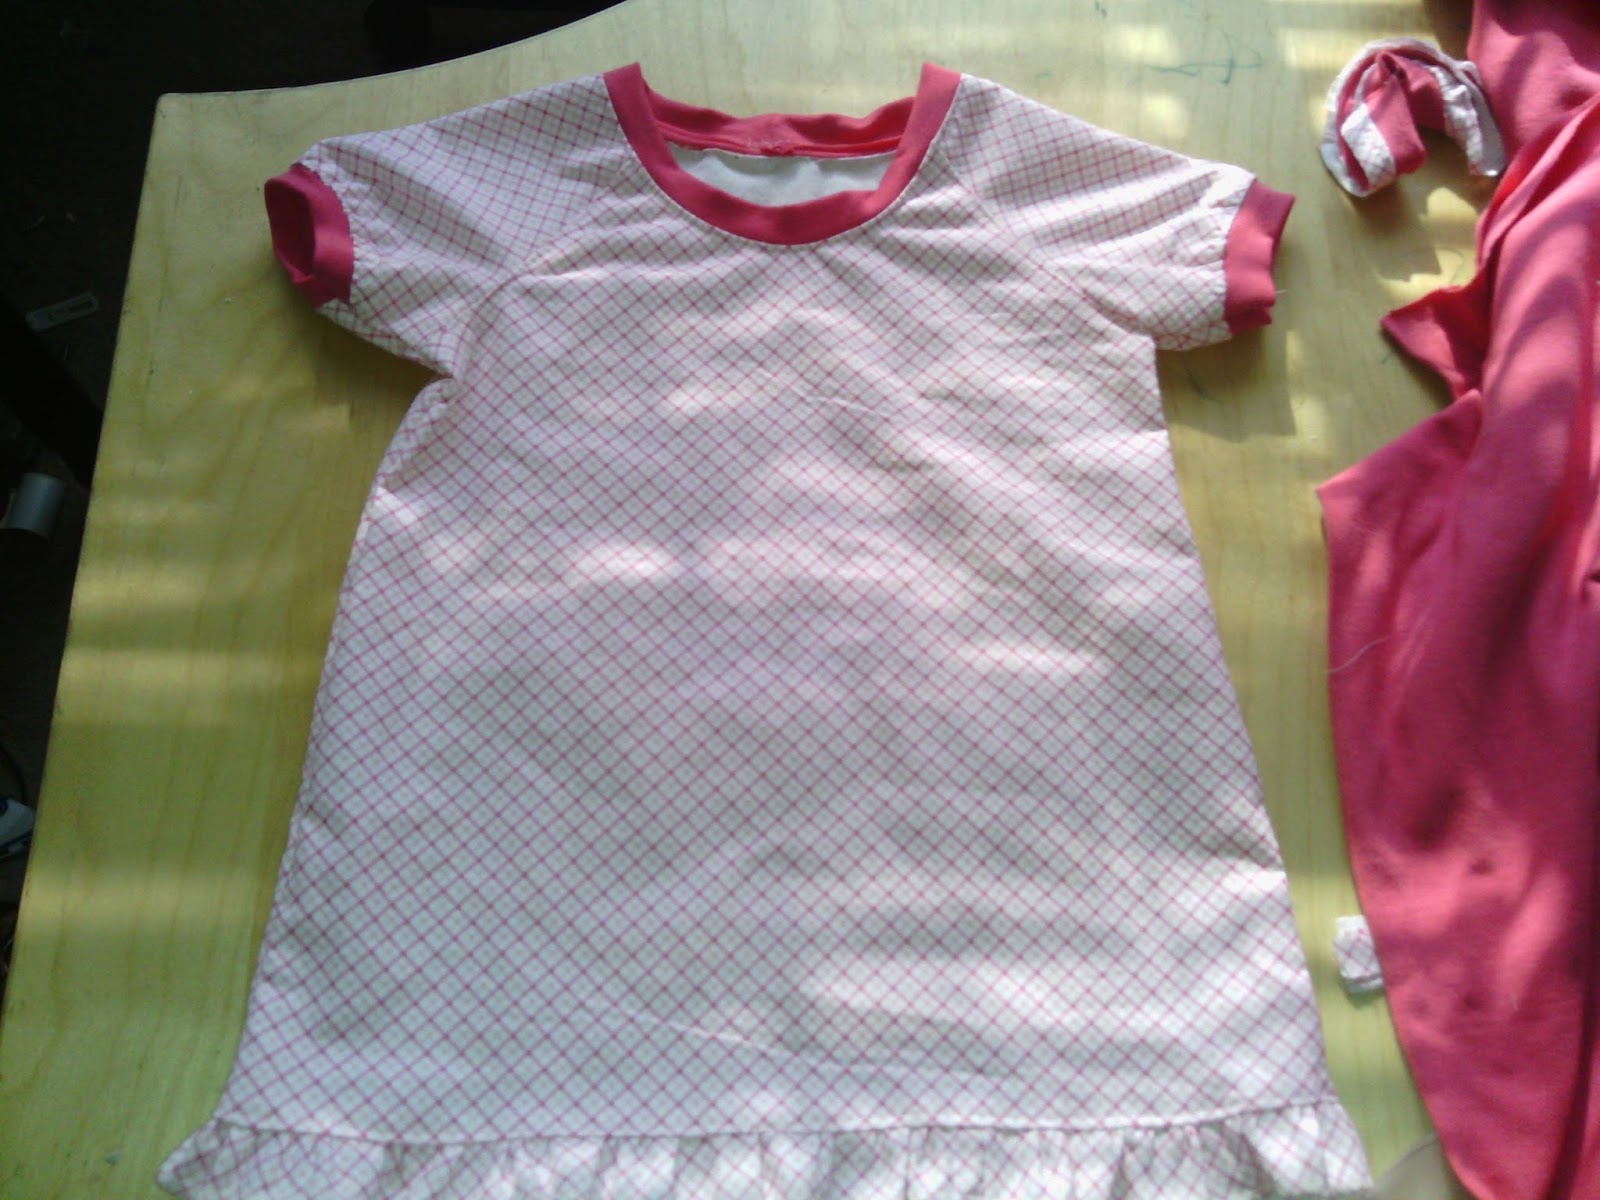
Girls night gown.
It has been a while, but I have managed to cut out this quick night gown for my little lady. It is almost fall and Joann fabric had a HUGE sale on printed flannel and needless to say I took advantage of it.
I first cut out a simple ragland style pattern. I used a pattern from my Japanese pattern book to mimic the style I wanted. I did a lil tweekin but it worked out well.

Out out your pattern and sew it together ladies.

This is the neck. I have left one side open so that I can sew on top of seams to give the nightgown extra strength. After I sewed down all three seams I closed the last one and sewed on top of that one.

I went down to the local fabric warehouse area and found some knit pink that was 120 inches wide for like three bucks! I cut out a three strips. One for the neck, one and two for the arms. These strips are going to be folded over in half and sewn onto the bottom of the sleeves as well as into the neck line. Make sure to cut your knit smaller so that you can stretch it and give it a little gather looked.


Once you have put on the knit, sew on top of the seam. as you can see I sewed the knit on before sewing together the front but you can do it how you want. And then take your longer piece and make sure that you sew it to join a circle. Try squeezing over your little ones head before you sew it on so you will know if it fits or not. (painful experience)

Pin it and sew it together. I added a little ruffle to the bottom of the dress but you can leave it plain if you like.
MashAllah you always said it was simple but i didn't think it was That! simple....love it!
ReplyDeleteSonja
I thought I was the only one who liked to put in elastic like this LOL, it seems so much easier
ReplyDelete